Start by placing a small amount of this wildly overpriced stuff onto the area where you want to make the chrome on your build.
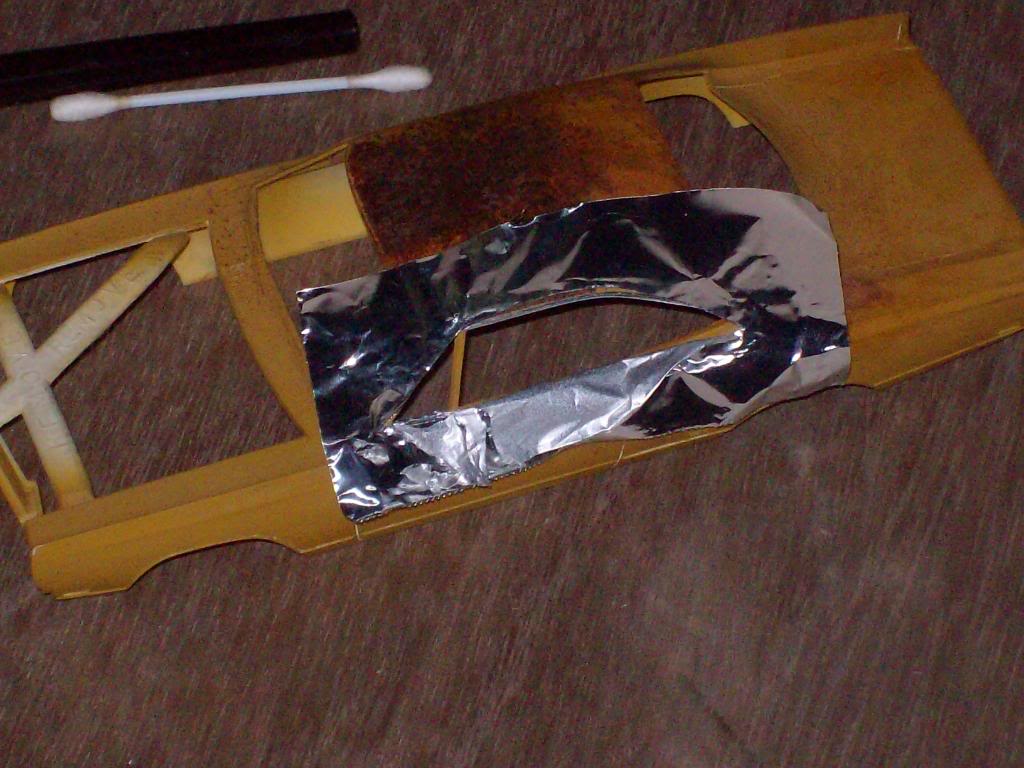
After you realize that it either won't stick, or it sticks so well it removes your paint, and that you can't cut it without it wanting to pucker up or tear along the cut-line, put more onto the model. In fact, put several sheets on your model and then hammer it down nice and tight with a small hammer. You'll feel better after working out your frustration and your build will look great. This should be your finished model build.
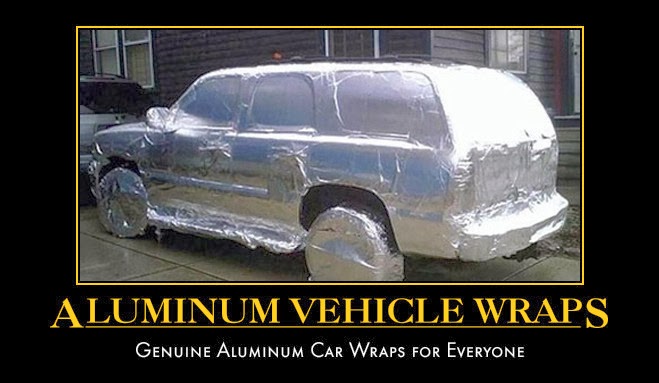
After you get the hang of Bare Metal Foil and how stinking easy it is to work with, you can now really explore it's potential uses. Buy all you can and as you can see here, I have done a nice wrap on my old Yukon and it looks great. The neighbors love it except when I park it outside on a sunny day it burns the paint off their house. However, as an added bonus, I am picking up AM Radio stations from Guam and France!! I have a Patent in the works and will be marketing these auto-wraps very soon so stay tuned!
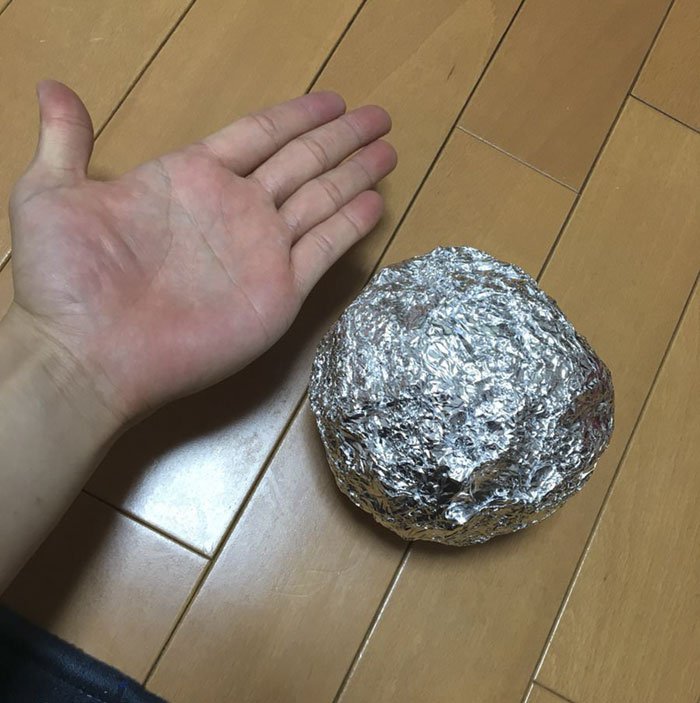
I have become such a Bare Metal Foil user that I did all of the models I have ever built in the stuff and have no more left. I decided to not wait for the next build and I just Bare Metal Foiled my face!
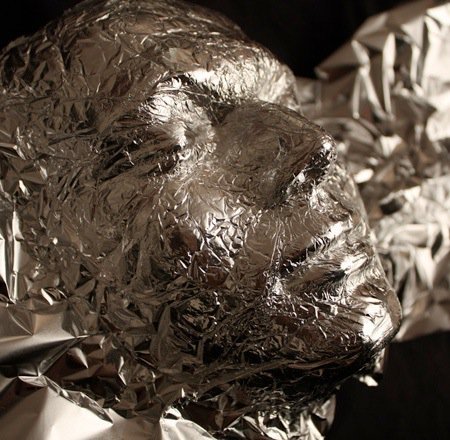
I had trouble eating so I bought more of this wonderful stuff and now simply wear the hat.

I hope this Bare Metal Foil Tutorial has been helpful for all you aspiring modelers out there and if you have any questions, don't hesitate to post them or PM me. I'm just happy to share my own Bare Metal Foil success story!!

