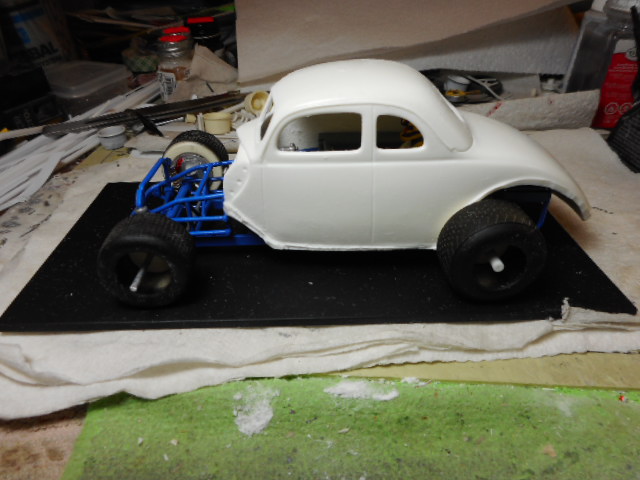
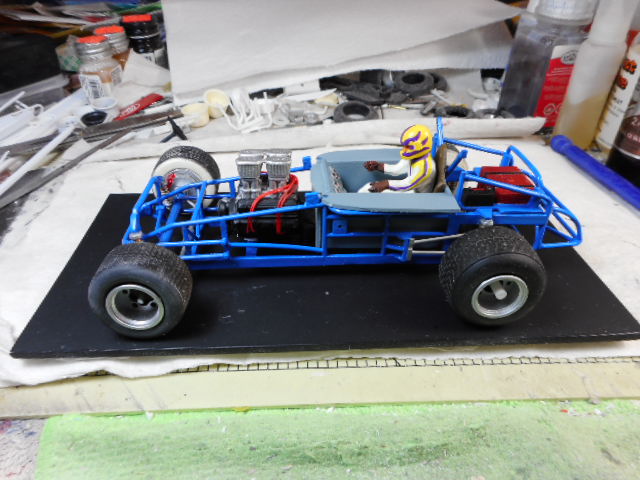
I decided to try to turn a regular 37 Ford Coupe into more of a Club Coupe and see what kind of Modified it could make. Here are the unsuspecting guinea pigs, a Tobias frame and a 37 Ford Coupe body.

Slicing off the fenders gave me a better view and it is obvious that this is not a "natural" fit.
A note of caution here, too much caffeine and the right kind of good old rock n roll music from the 60's and 70's in the background can really get you going! I finally put down the Dremel and the sanding stick while I still had some body left! The tail is ridiculous and the body can't set that low in front with the motor set-back.
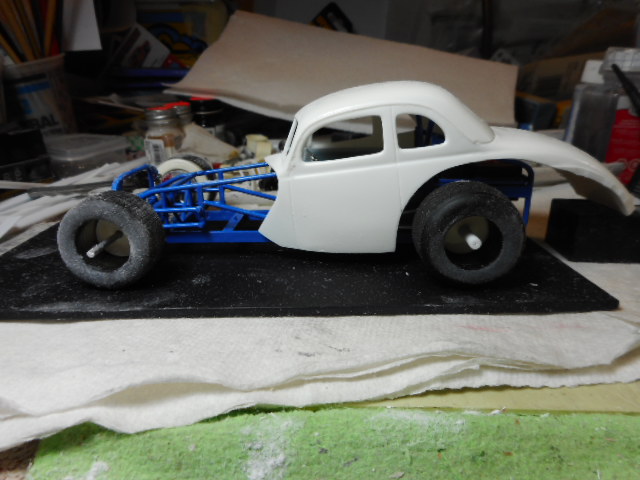
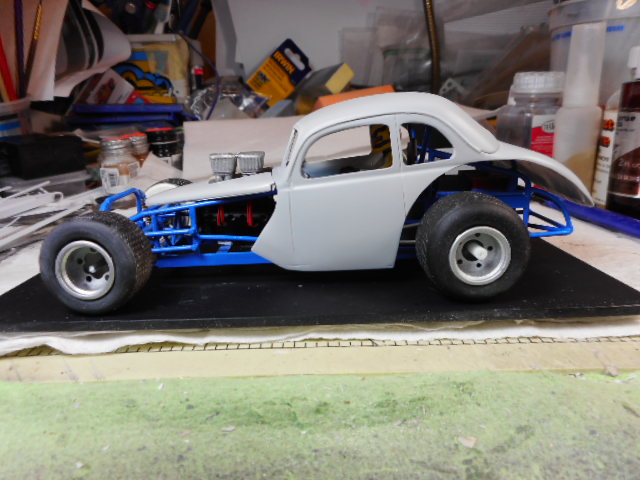
I trimmed the tail and bent it downward some (still not sure I like it) and added some front body cowl mounts. I also started filling out some of the interior to get good fitment points established.
I heated the sides up front and got them pulled out to make more of a flatter side. I also heated the tail and bent it downward more. Those cowl body mounts allow the hood line to flow with the body line and that's always kind of a big deal with me. Other than Jalopies where the hood usually jacked upwards to clear the big radiator, I like the hood lines to be at the same general angle as the body lines because otherwise it just looks disjointed to me. You can also see where I have built the rear of the frame out to meet the tail better.
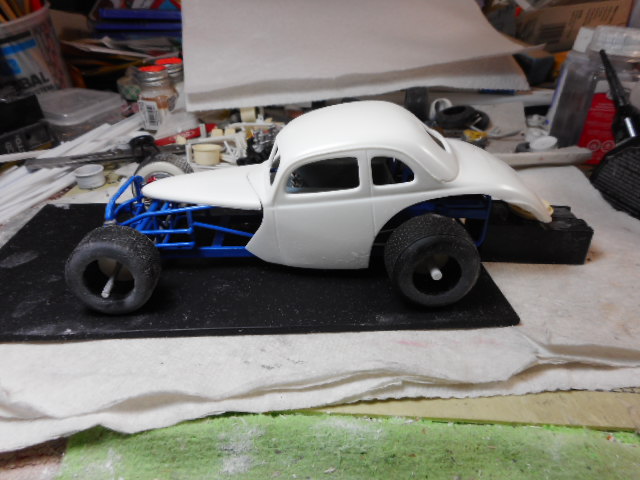
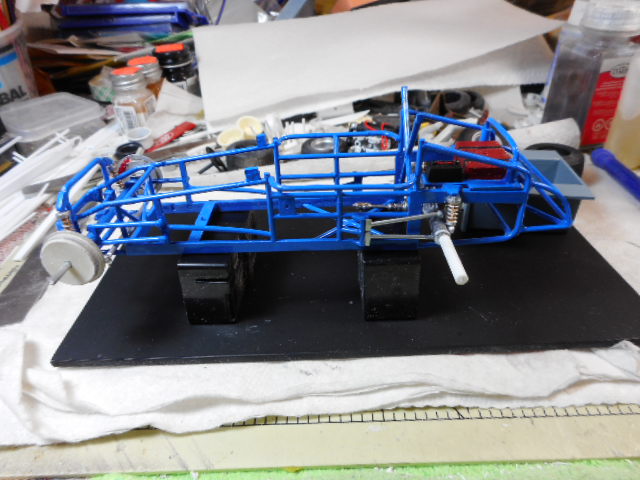
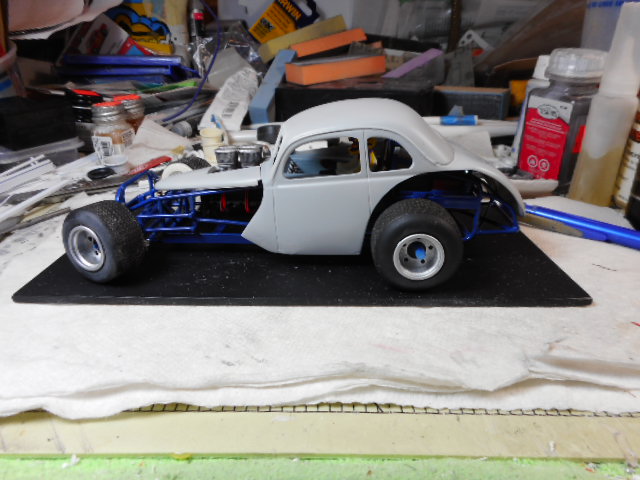
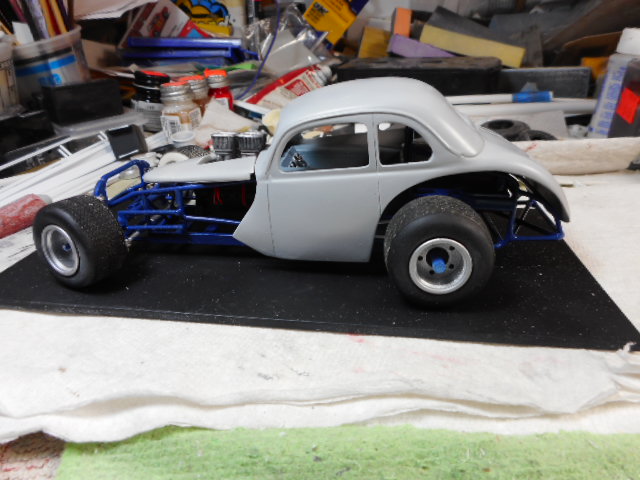
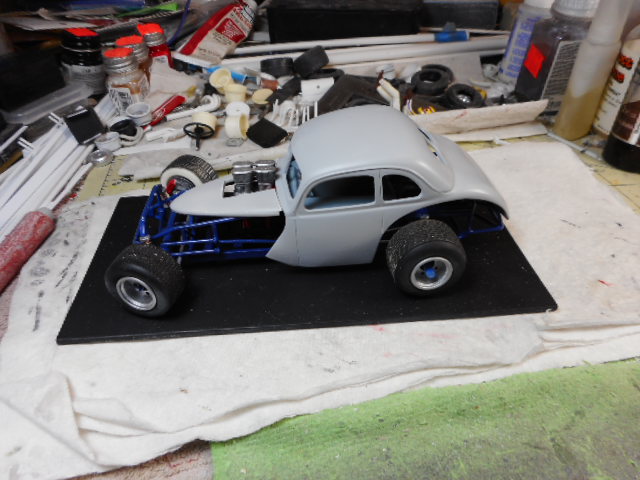
Well, as these things sometimes go, the little car just wasn't "speaking to me" so first I masked everything off and re-sprayed the frame to a color that better suited what I was looking for. I also gave that tail another scalding bath and bent it way down. It was starting to look like what I had in my head and much more had that Club Coupe look to it instead of just the regular coupe.
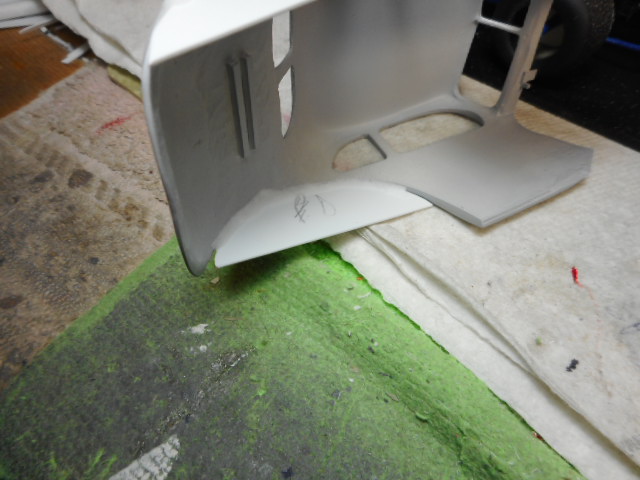
The problem now is that because I removed so much material from around the rear fender areas, the rear wheel arch is just not smooth enough nor did it have enough visual mass to make it flow. Okay, no problem, time for putting styrene back into this thing. I got a little chunk of .030 and made rough patterns.
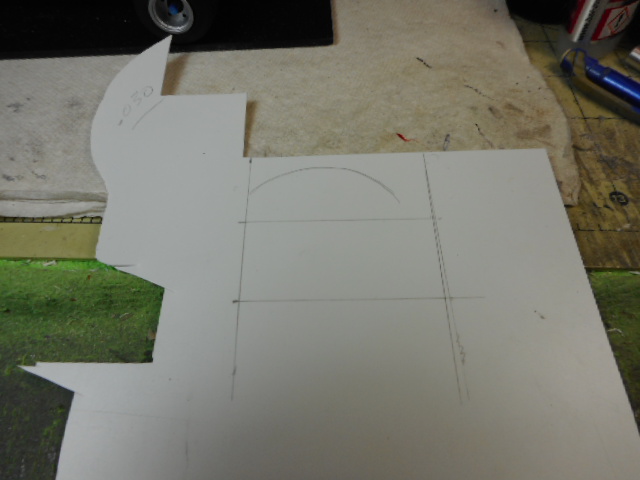
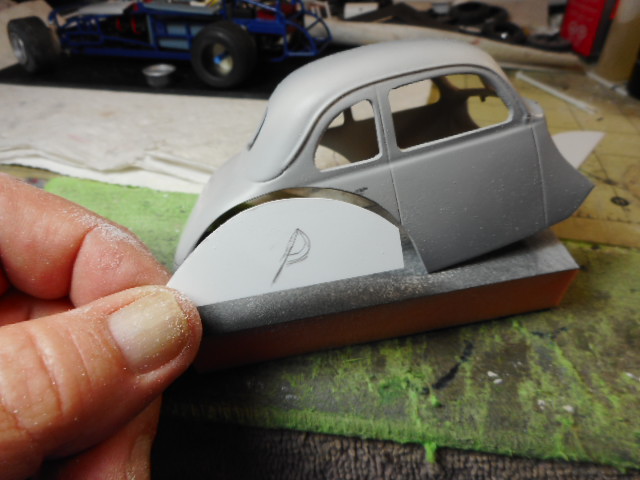
I cut them out and shaped them a little and both sides were ready to be nailed in. (By the way, P is for Passenger Side and D is for Driver Side; helps me keep things in their right place)
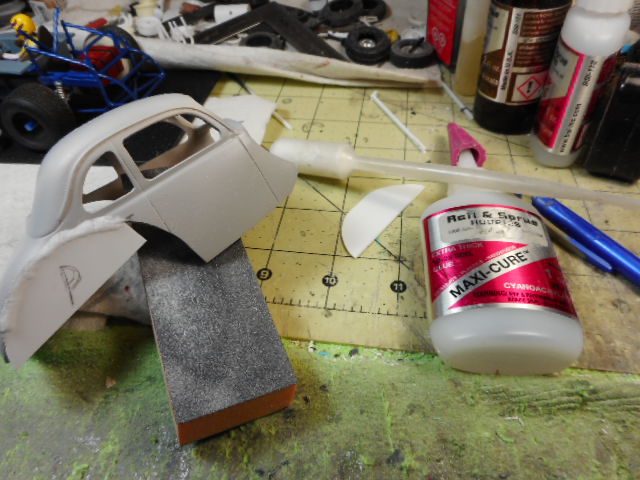
Super Glue and Microballoons are my "go-to" method here. I use the super thick slower curing super glue and I always have a little pipette with microballoons handy. I put my glue in, hold the piece in place just long enough that it will set there by itself and then dribble the balloons on the glue making sure I cover it all. I then wait a couple of seconds and use a small piece of plastic and kind of "screet" it off very lightly. That helps to push the balloons into the glue and then I just blow off the excess. Do not put any real pressure on your screet or try to smooth it out, just let the glue and the balloons get together real good mostly all on their own. Then let it dry/cure.
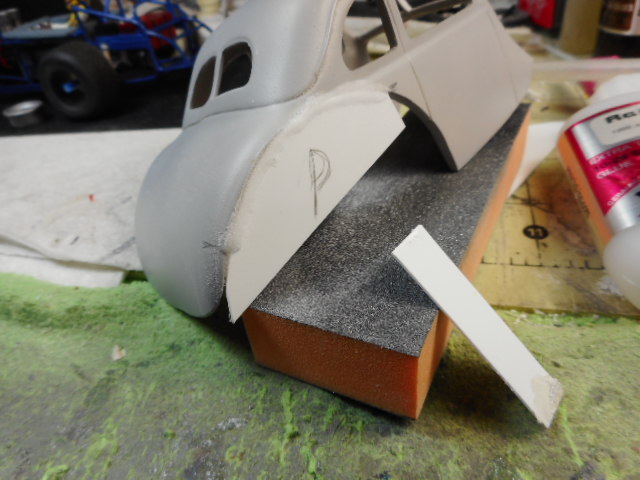
I also went ahead and reinforced the piece since they were going to get mostly cut away by doing a similar thing on the inside of the wheel well. I just let the balloons dribble into the glue and then blew it off and let it set.
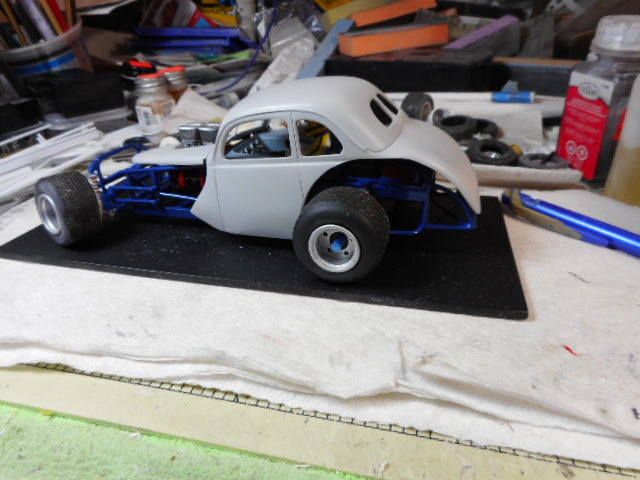
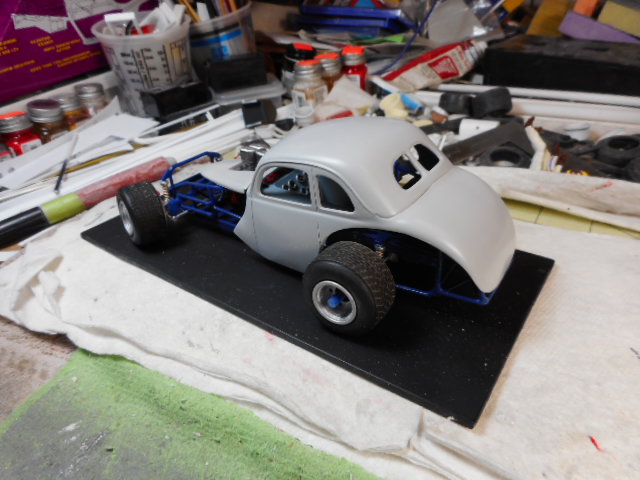
I went in and watched about a half an episode of The Virginian (I have those old westerns on DVD. Nothing like a little James Drury and Doug McClure to pass the time!) and then back out to the shop and started sanding. The big deal with the balloons and superglue is that those teeny-tiny little plastic balls (almost like dust) allow the superglue to be as "super" as it is and yet you can sand and shape it a lot easier because we've added plastic to the mix. The Microballoons also change the PH factor in your superglue so it indeed cures out faster; not quite like an accelerant but sort of in a small way. So some sanding and contouring with the sticks and sponges, a shot of primer to see where I was at, and Viola! I've got that Club Coupe tail I was looking for!!

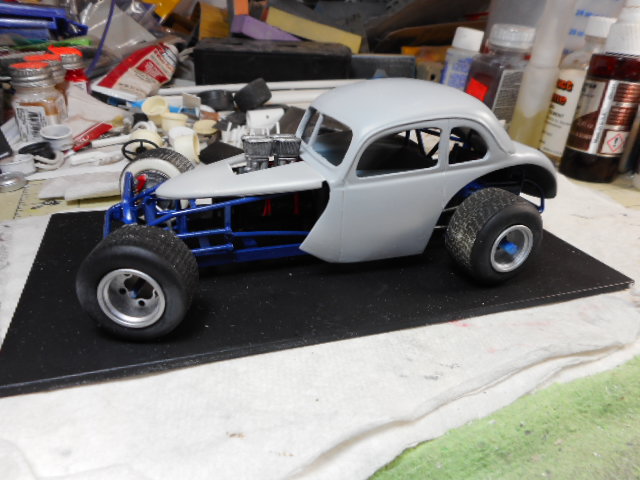
The reason I wanted to get this out there was to show you that you just cannot ruin a body! You can cut them all to pieces and superglue and microballon them back together. And when you cut too much like I did, you can simply build it back from nothing if you need to. I might also add that there is not one molecule of putty on this thing and if it were to get stepped on, it would break in places other than where the superglue and microballons are. They are that strong once fully cured and they do not crack or shrink or anything else over time. I would also tell you that if you have a large or very deep area to fill in, put some glue in and then some balloons; then after a couple of minutes, put more glue in and more balloons; and so on. Build it up that way if it is super deep because otherwise, the balloons will skim over the glue and while the surface may have some "plastic" in it, the base won't and that glue trapped down in there will take a while to cure on you. Moreover, if you have to sand down into pure superglue, that stiff is hard as a rock and it is difficult to sand at the same general rates as the plastic surrounding it.
Anyway, I'll keep ya posted as to how this little Coupe comes along but for now, you've seen all of the mistakes I've made and how I fixed them. Sometimes when I build a model I might wander but I never get completely lost!! (ha!)


